How to Use Staging in Azure Static Web Apps
TL;DR. Azure Static Web Apps Preview offers staging (pre-production) environments for applications.
What is a staging environment and why should I care?
Staging environment is a fully-functional staged version of your application. Imagine that you want to make a small change to a layout of the site. You change the css file and push the code into production. All done and well. What if you made a typo and broke the layout of the site? Maybe that’s not a big issue for a small site like this. Imagine doing this for a large site. Or, what if you made that small change to function call handling shopping cart and made it impossible to make purchases from your site.
Staging environments help you check and validate changes before deploying code to production.
Note Azure Static Web Apps supports multiple staging environments at the same time, but during preview only one staging environment is allowed at a time.
How does it work?
The source code of this site (building[4].cloud) is hosted in GitHub. When I first created the repository and published the code into Azure Static Web Apps, a GitHub Actions workflow was automatically generated for me. You can read more from my previous post. This workflow is currently watching my main branch, and when a pull request is created against the branch, the staging environment is automatically built.
Note Make sure your GitHub repository’s visibility is set to public, if you are using GitHub Free. Otherwise pull requests are not available. Or you can use one of the options.
Note 2 Staged versions of application are currently accessible publicly by their URL, even if the GitHub repository is private.
I’ll demonstrate all this with a small change to my site. First thing I need is a new branch.
$ git checkout -b hotfix/postarchetype
After making necessary changes (file archetypes/posts.md), I stage the file, commit and push the change up to GitHub.
$ git add archetypes/posts.md
$ git commit -m "Change post archetype template"
$ git push origin hotfix/postarchetype
Now, let’s hop on to GitHub. First think that we can see, is that there has been a recent change in one of the branches.

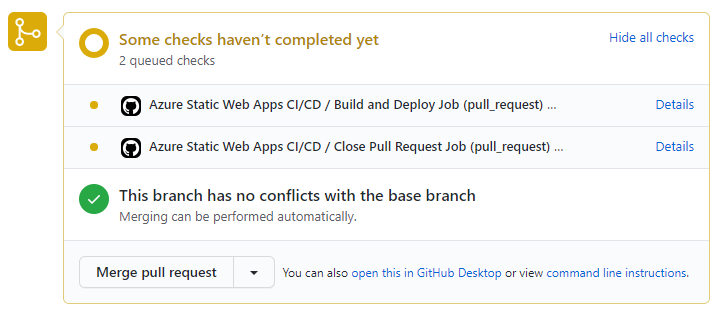
Let’s click on the button and create a pull request after reviewing the code changes. After creating the pull request we will see that GitHub Actions workflow has noticed it, and informs us about that.
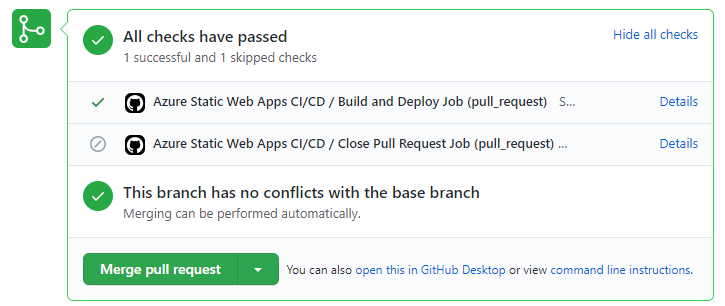
After some time, we can see that checks are passed.
If we now head up to Azure, we can see that the staging environment has been created.

If we go on and click the Browse-link, a new browser window in opened and we can browse through the site in staging environment. If you compare the URL of the staging environment with URL of the production, you’ll see that the staging environment URL is composed as https://<SUBDOMAIN-PULL_REQUEST_ID>.<AZURE_REGION>.azurestaticapps.net.
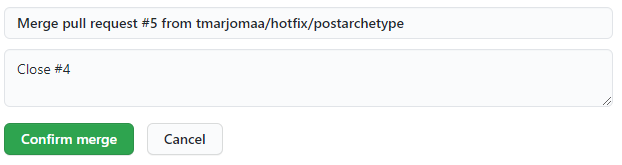
Once the changes have been valitated and we are confident that everything is just like we wanted, we can go ahead and publish changes in production by merging the pull request in GitHub.
After pushing Merge pull request, we can go ahead a confirm the merge. Note how I linked an active issue (#4 in this case) to the pull request and by using a supported closing keyword, the issue will closed automatically.
Afer the pull request is merged, Azure will pull the plug from staging environment and it will be removed.
Want to know more or leave a comment? Reach out to me on LinkedIn or Twitter.
Until next time, take care.