Super-Mario at the Edge
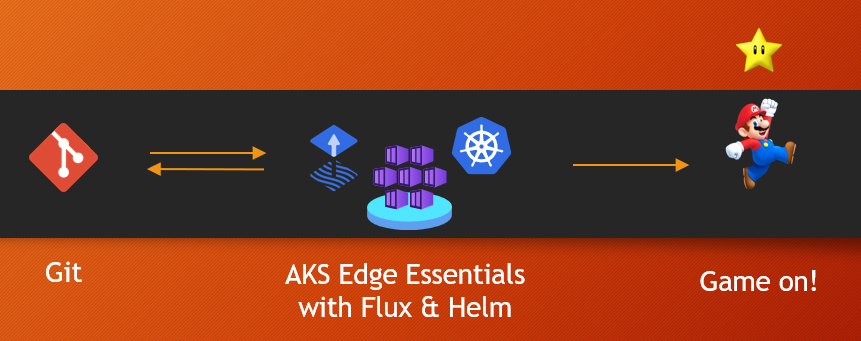
In this blog post, I’m going to introduce you to AKS Edge Essentials (AKS EE), and show you how to run Super-Mario at the AKS EE cluster using Helm charts and GitOps.
The Solution
The actual solution is really simple. We have a git repo in GitHub hosting the application. In this particular case it’s just a helm chart pointing to an external repo hosting the actual docker file. And with a help of a bit of gitops magic, we’re able to deploy the application to the AKS EE cluster.
What is AKS Edge Essentials?
As per Microsoft’s documentation AKS Edge Essentials is an on-premises Kubernetes implementation of Azure Kubernetes Service (AKS) that automates running containerized applications at scale. AKS Edge Essentials includes a Microsoft-supported Kubernetes platform that includes a lightweight Kubernetes distribution with a small footprint and simple installation experience, making it easy for you to deploy Kubernetes on PC-class or “light” edge hardware.
Ligthweight CNCF-conformant distributions that are supported and maintained by Microsoft are K3s and K8s. For the demonstrating purposes, I’m using K3s on my old HP ProBook 430 G6 laptop. What’s nice with AKS EE, is that you’ll be able to update it using Windows Update. Thus making sure it’s always up-to-date.
Note! If you want to try this thing out, but don’t want to install K3s on your computer, you can test things out using a readymade Arc Jumpstart template and run it on an Azure VM. Keeping in mind that it’s not expected for an Azure VM to be projected as an Azure Arc-enabled server!
Setting it up
As the first step, we need to download and install AKS EE. Latest versions can be downloaded using the following links (https://aka.ms/aks-edge/k3s-msi and https://aka.ms/aks-edge/k8s-msi) depending on your flavour. Once downloaded, install it using msiexec.exe /i or just simply double-clicking it (you know the drill, I’m sure).
After the installation, it’s time to check everything went smoothly. Using an elevated PowerShell prompt, run the following command to validate AksEdge module works as expected.
Set-ExecutionPolicy RemoteSigned -Scope Process -Force
Import-Module AksEdge
Get-Command -Module AKSEdge | Format-Table Name, Version
For ensuring that the required Windows features and power settings are in place, we can run the following command.
Install-AksEdgeHostFeatures
AKS EE can be deployed both with a single machine or a full-scale deployment model. As I’m only using a single laptop, my obvious choice is a single machine deployment. To generate a single machine cluster configuration file, let’s use the following command.
New-AksEdgeConfig -DeploymentType SingleMachineCluster -outFile .\aksedge-config.json | Out-Null
I usually end up configuring the subnet to be used for the deployment. If this optional parameter is not specified, AKS Edge Essentials determines available IP addresses on a best effort basis, which might take quite a lot of time. Just make sure it’s available for use.
  "Network": {
    "Ip4AddressPrefix": "192.168.227.0/24"
Once that’s done, we can kick-off the deployment.
New-AksEdgeDeployment -JsonConfigFilePath .\aksedge-config.json
It’ll take few minutes to complete. Once everything is on place, we’ll receive an OK.
Let’s then validate that the k3s works by running few simple kubectl commands. (You might need to restart your terminal.)
kubectl get nodes -o wide
kubectl get pods -A -o wide
Connecting the cluster to Azure Arc
To connect the AKS EE cluster to Azure Arc, we first need to work a bit in Azure. First, we need to check that all the required resource providers for the subscription are enabled: Microsoft.ExtendedLocation,Microsoft.GuestConfiguration, Microsoft.HybridCompute, Microsoft.HybridConnectivity, Microsoft.Kubernetes, and Microsoft.KubernetesConfiguration. Then we need to create a service principal and a secret for it, and grant the service principal built-in role of Microsoft.Kubernetes connected cluster role in order to access resources on Azure.
On the laptop-side, we’ll need to install few AZ-modules.
Install-Module Az.Resources -Repository PSGallery -Force -AllowClobber -ErrorAction Stop
Install-Module Az.Accounts -Repository PSGallery -Force -AllowClobber -ErrorAction Stop
Install-Module Az.ConnectedKubernetes -Repository PSGallery -Force -AllowClobber -ErrorAction Stop
Let’s first fill in the details to aksedge-config.json,
  "Arc": {
    "ClusterName": "building4-cloud-cluster",
    "Location": "Sweden Central",
    "ResourceGroupName": "building4-cloud-cluster-demo",
    "SubscriptionId": "<subscription-id>",
    "TenantId": "<tenant-id>",
    "ClientId": "<client-id>",
    "ClientSecret": "<client-secret>"
  },
and then apply the configuration.
Connect-AksEdgeArc -JsonConfigFilePath .\aksedge-config.json
The script will take it’s time, but in the end, we should receive an OK.
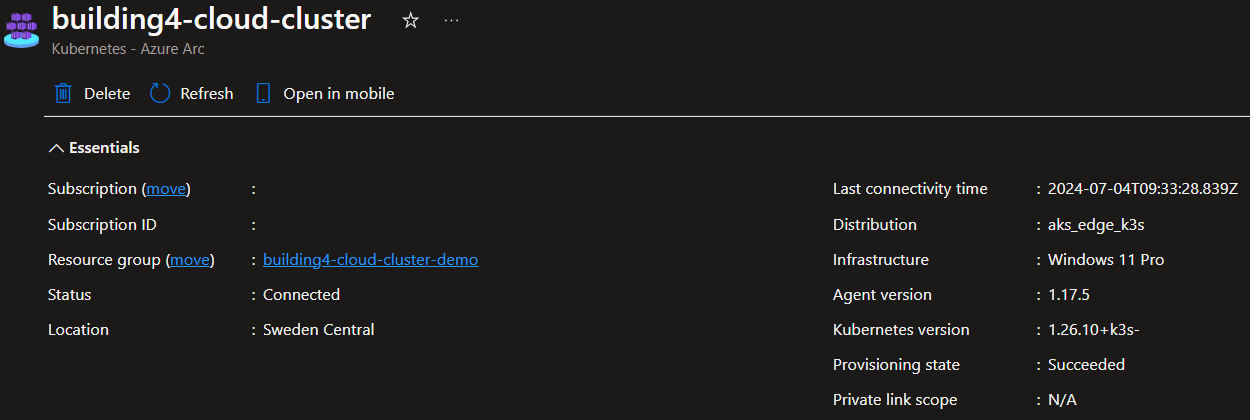
If we head into Azure Portal, we should find the new Arc connected cluster.
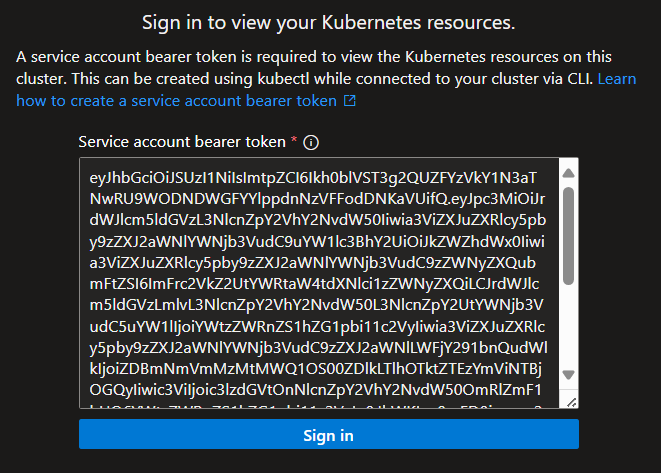
To be able to view the Kubernetes resources of the cluster in Azure portal, a bearer token is needed. We can either use kubectl (link for more info) or get one simply by using a single Powershell command (Get-AksEdgeManagedServiceToken). Just copy-paste the token, and we’re good to go.
Let’s check the pods again. There should be plenty of new pods running.
kubectl get pods -A -o wide
Now that the cluster is ready, you might be thinking of how do we get to play Super-Mario? We’ll shortly find out, but let’s see how to automate all that using GitOps.
What is GitOps, Flux, Helm and all that stuff?
GitOps is a way to implement Continuous Development for cloud native applications, coined by Weaveworks in 2017. The core idea of GitOps is having a Git repository:
- containing declarative descriptions for infrastructure and applications currently desired in the target environment, and
- an automated process to make the environment match the described state in the repository.
So, when we want to deploy a new application or update an existing one, we only need to update the repository — an automated process handles everything else. And this is exactly what we want!
Helm uses a packaging format called charts, where as a chart is a collection of files that describe a related set of Kubernetes resources. A single chart can be used to deploy something simple, like a pod of Super-Mario, or something complex, like a full web app stack with tons of pods. (More info about Helm charts.)
Flux in the other hand is a tool for keeping Kubernetes clusters in sync with sources of configuration (like Git repositories), and automating updates to configuration when there is new code to deploy. (More info about Flux.)
All in all, let’s create the GitOps configuration in Azure Portal.
GitOps configuration!
First off, let’s navigate to the GitOps menu of the cluster, and push Create.
Let’s fill in the Basics.
Configuration name: mario-config
Namespace: k8s-mario
Scope: Namespace
As all the stuff is in a public GitHub repo, let’s fill in the details for Source.
Source kind: Git Repository
Repository URL: https://github.com/tmarjomaa/k8s-mario
Repository: Public
We also need to add a Kustomization for our Helm chart, to ensure that the cluster gets the correct configuration and remains in sync with the repo.
Instance name: mario-kustomization
Path: ./k8s-mario/release
Prune: Checked
Once we’re done with the configuration, Azure will install Flux extension to the cluster. To check that the Flux pods exist and are running on the cluster, we can use kubectl get pods -n flux-system. Once Flux is operating, it’ll start the deployment of our much awaited Super-Mario to the cluster.
After waiting a while, check that we have a service called k8s-mario-service using kubectl get svc k8s-mario-service -n k8s-mario. Take a note of the NodePort, which in this case is 31055.
NAME                TYPE       CLUSTER-IP    EXTERNAL-IP   PORT(S)        AGE
k8s-mario-service   NodePort   10.43.8.176   <none>        80:31055/TCP   3m44s
To access the game through browser, we’ll need one more piece of the puzzle - the Linux node’s ip address.
Get-AksEdgeNodeAddr -NodeType Linux
IpAddress 192.168.227.2
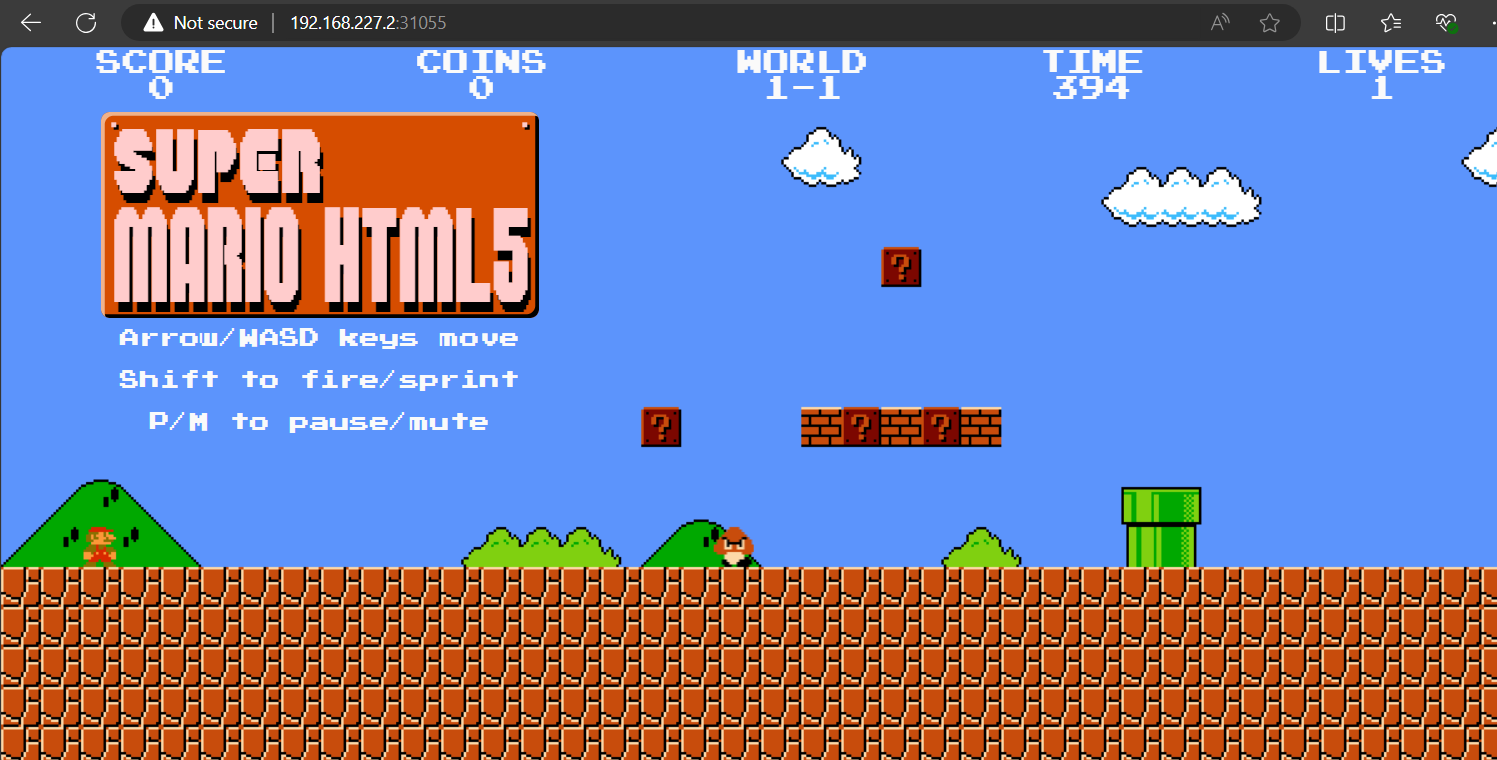
It’s game time!
By combing the two values, we get 192.168.227.2:31055, which we can hit to our favourite browser and voilà. Game on!
But… now I’m the only one who can play the game in your network. What if we wanted to share the fun in the local network? Let’s do that.
First, we’ll need the ip address of the machine. Feel free to replace WiFi with Ethernet if your connection to the local network is with a network cable.
(Get-NetIPAddress -InterfaceAlias WiFi -AddressFamily IPv4).IPAddress
192.168.181.232
Secondly, we need to create a port forward that maps the local ip address and port 80 to the node’s ip and port.
netsh interface portproxy add v4tov4 listenport=81 listenaddress=192.168.181.232 connectport=31055 connectaddress=192.168.227.2
And finally, the traffic needs to be allowed through Windows Firewall.
New-NetFirewallRule -DisplayName "AllowHttp" -Direction Inbound -LocalPort 81 -Protocol TCP -Action Allow
Now the game can be accessed in the local network using http://192.168.181.232:81.
A bit of GitOps magic
Before wrapping things up, let’s check that gitops does what it’s supposed to do, which is to automatically make the environment match the described state defined in the repository. Earlier we configured a Kustomization that follows the path ./k8s-mario/release. In the repo, there’s a yaml-file in that path.
apiVersion: helm.toolkit.fluxcd.io/v2beta1
kind: HelmRelease
metadata:
  name: k8s-mario
  namespace: k8s-mario
  annotations:
    clusterconfig.azure.com/use-managed-source: "true"
spec:
  interval: 1m
  releaseName: k8s-mario
  chart:
    spec:
      chart: ./k8s-mario/chart
      reconcileStrategy: Revision
  values:
    replicaCount: 3
Let’s check and watch (-w) the current amount of pods in the k8s-mario namespace. In my case there are three, as per replicaCount: 3.
kubectl get pods -n k8s-mario -w
NAME                                   READY   STATUS    RESTARTS   AGE
k8s-mario-deployment-949d87576-72xsw   1/1     Running   0          74m
k8s-mario-deployment-949d87576-cf752   1/1     Running   0          74m
k8s-mario-deployment-949d87576-fbdx7   1/1     Running   0          74m
As we are now watching the pods constantly, we should be seeing all changes to the pods live. So let’s change replicaCount to 5 in the repo, by commiting the change straight to main (because why not :D). It shouldn’t take that long for flux to detect the change in the repo, to kick-in, and to create some new pods for us.
NAME                                   READY   STATUS    RESTARTS   AGE
k8s-mario-deployment-949d87576-72xsw   1/1     Running   0          74m
k8s-mario-deployment-949d87576-cf752   1/1     Running   0          74m
k8s-mario-deployment-949d87576-fbdx7   1/1     Running   0          74m
k8s-mario-deployment-949d87576-plhlj   0/1     Pending   0          0s
k8s-mario-deployment-949d87576-chp2d   0/1     Pending   0          0s
k8s-mario-deployment-949d87576-plhlj   0/1     Pending   0          0s
k8s-mario-deployment-949d87576-chp2d   0/1     Pending   0          0s
k8s-mario-deployment-949d87576-plhlj   0/1     ContainerCreating   0          0s
k8s-mario-deployment-949d87576-chp2d   0/1     ContainerCreating   0          0s
k8s-mario-deployment-949d87576-plhlj   1/1     Running             0          1s
k8s-mario-deployment-949d87576-chp2d   1/1     Running             0          2s
If we change replicaCount back to 3, some pods will shortly get terminated.
k8s-mario-deployment-949d87576-chp2d   1/1     Terminating         0          4m
k8s-mario-deployment-949d87576-plhlj   1/1     Terminating         0          4m
k8s-mario-deployment-949d87576-chp2d   0/1     Terminating         0          4m1s
k8s-mario-deployment-949d87576-chp2d   0/1     Terminating         0          4m1s
k8s-mario-deployment-949d87576-chp2d   0/1     Terminating         0          4m1s
k8s-mario-deployment-949d87576-plhlj   0/1     Terminating         0          4m1s
k8s-mario-deployment-949d87576-plhlj   0/1     Terminating         0          4m1s
k8s-mario-deployment-949d87576-plhlj   0/1     Terminating         0          4m1s
Nice!
Cleaning it up
In case you were following along, and want to clean everything up.
- Delete the gitops configuration in Azure portal
- Disconnect Azure Arc
Disconnect-AksEdgeArc -JsonConfigFilePath .\aksedge-config.json - Remove the local deployment
Remove-AksEdgeDeployment - Delete the service principal and remove it’s RBAC permissions
- Delete the empty resource group
- Remove the Windows Firewall rule
Remove-NetFirewallRule -DisplayName "AllowHttpOnPort81" - Remove port forwarding rule
netsh interface portproxy delete v4tov4 listenport=81 listenaddress=192.168.181.232 - Uninstall “AKS Edge Essentials - K3s” through Settings - Apps - Installed apps
Wrapping it up
In this blog post, I demonstrated how to run Super-Mario at the AKS EE cluster using Helm charts and with a bit of GitOps magic.